Twilight Princess Zelda - Purple Blouse Tutorial
Hey everyone! I wanted to make this tutorial for you because I had a fun time making this cosplay along with learning new things. It took me a little over 2 months to make; from research on accuracies to putting it together. I wanted to challenge myself when it came to prop making and using real lining. I will try to make this easy to read! Enjoy~!

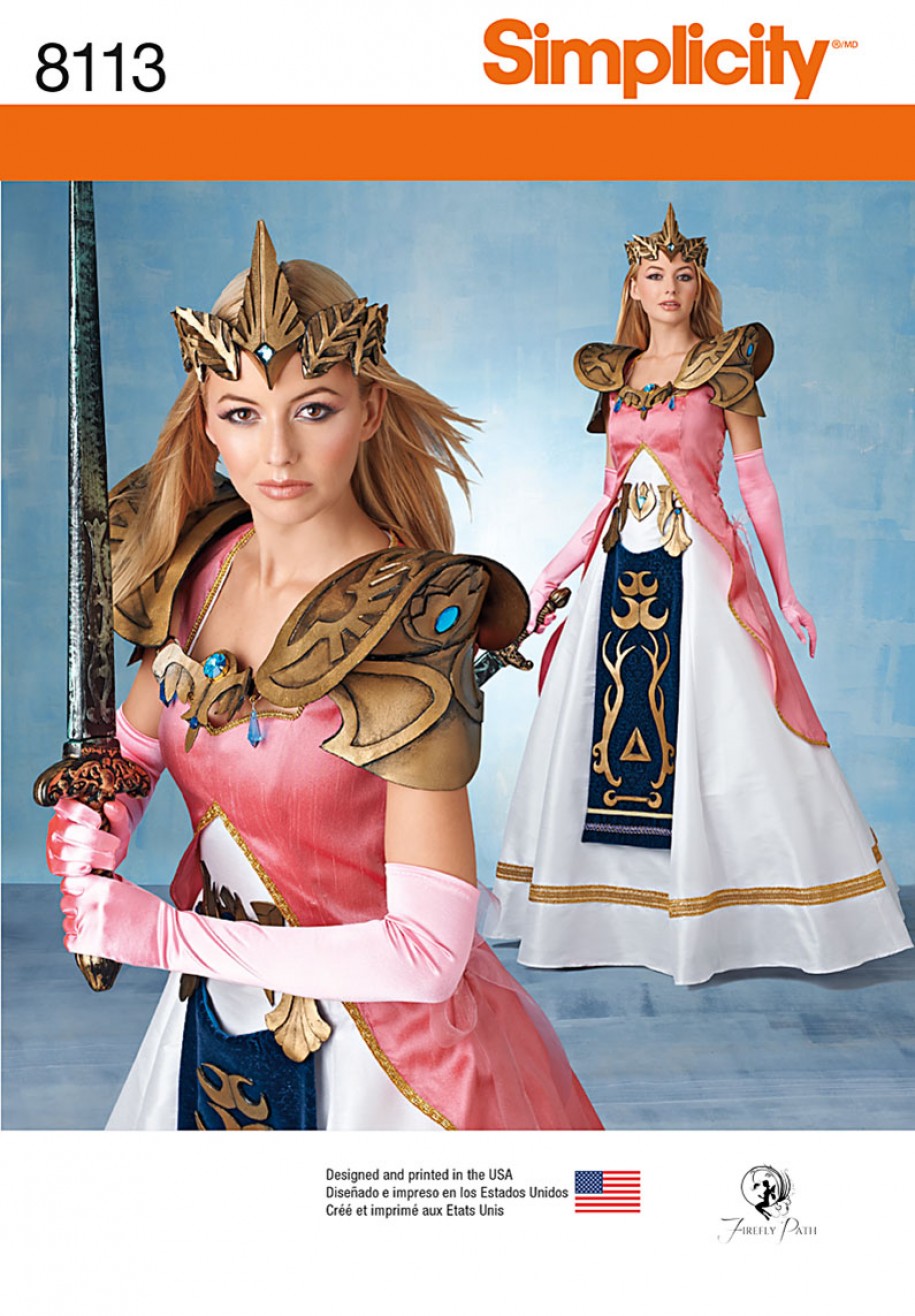
PATTERN:
This is the pattern I ended up using to save some time and crying lol. You can get it at your local joanns~! I ended up altering a lot of it, since I was making Twilight Princess and wanted to be accurate as possible, but of course, you can make it exactly like the pattern :]

I first started out cutting the pattern into my size and putting it on the fabric, tracing, and cutting it out. Basic pattern workflow. I usually like pining it on my dress form so I can see what it will look like.


PATTERN:
This is the pattern I ended up using to save some time and crying lol. You can get it at your local joanns~! I ended up altering a lot of it, since I was making Twilight Princess and wanted to be accurate as possible, but of course, you can make it exactly like the pattern :]
FABRIC:
The fabric I used I have no idea what it is, I had it in my fabric bin and used that, but I'd imagine something with a little bit of stretch for the chest area. I wouldn't use cotton though, but thats my personal opinion.
LETS GET STARTED;
I first started out cutting the pattern into my size and putting it on the fabric, tracing, and cutting it out. Basic pattern workflow. I usually like pining it on my dress form so I can see what it will look like.


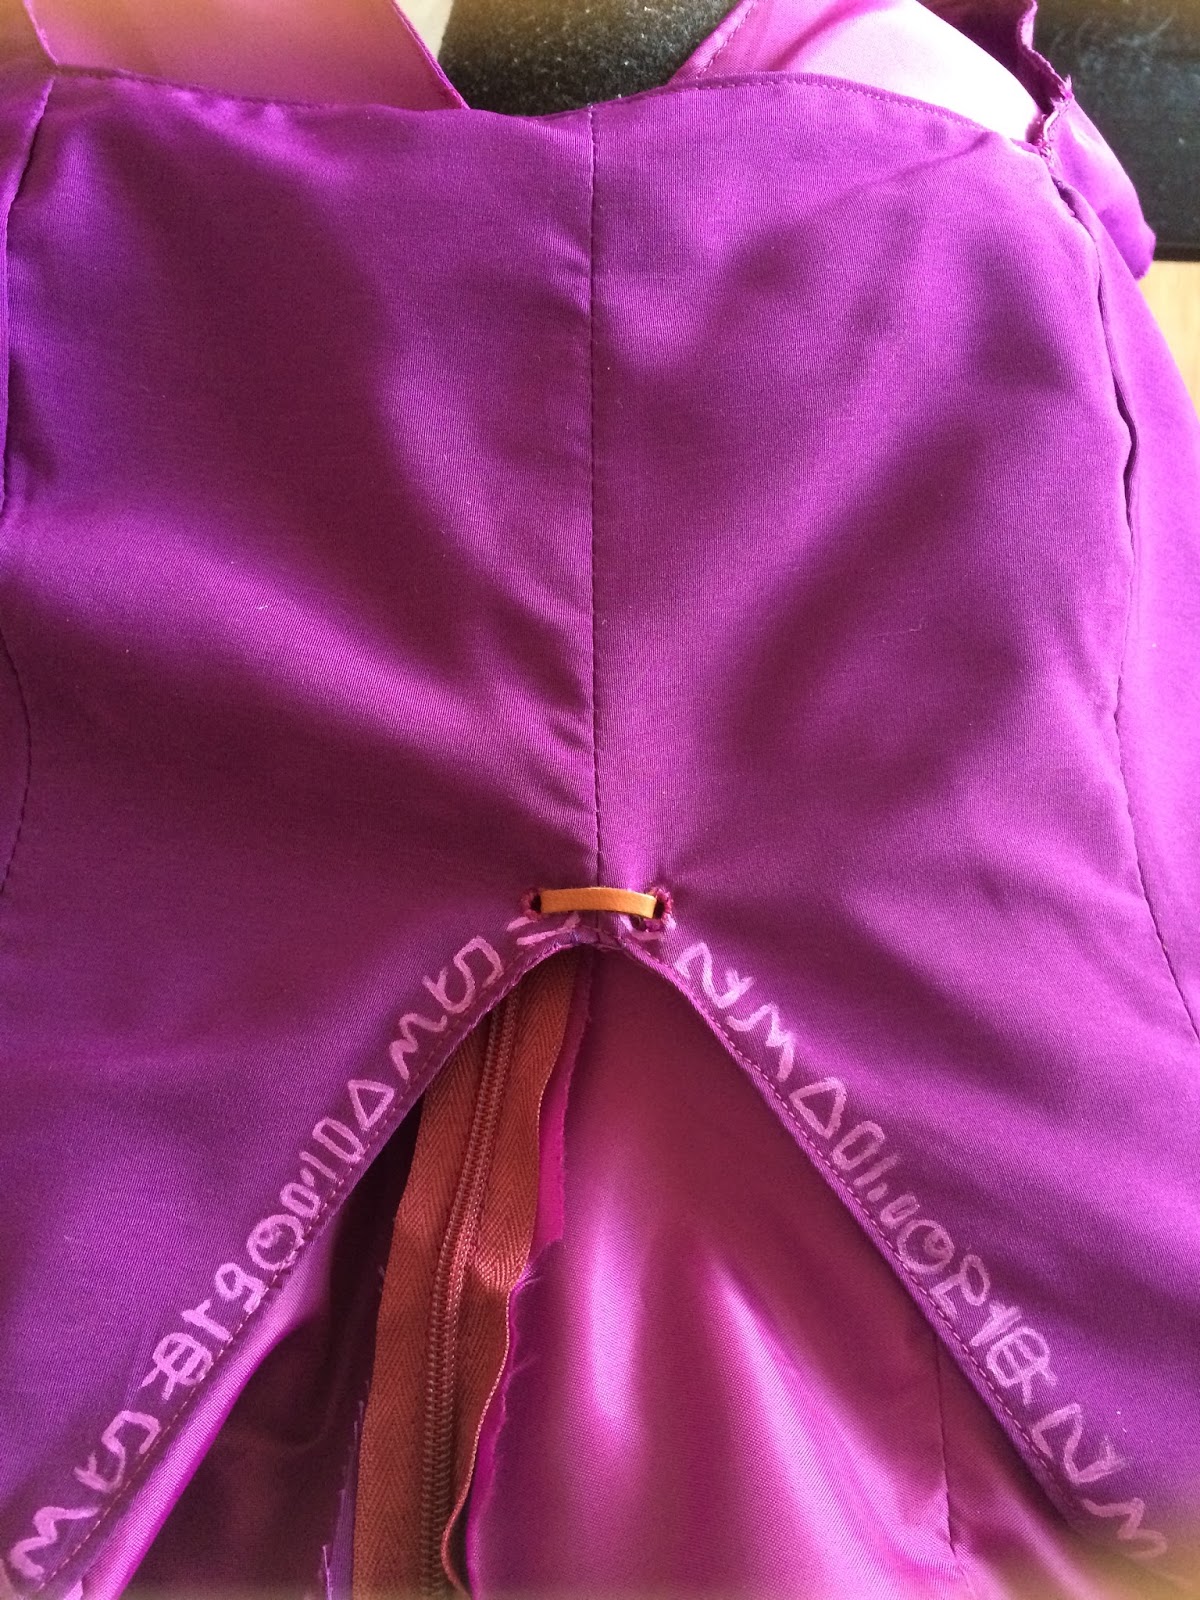
Here was the difference between mine and the pattern; I took a lot off of the back to make that triangle hole and shorten the tail. otherwise, its the same pattern.
Next, stitch it together! I used a straight stitch at 3.5 ish so the seam was not too tight. Here are some photos of it seemed together besides the back:


I sewed it at 3/8th in so I had plenty of room. Then take your lining and cut out the exact same pieces, exactly the way you did it the first time; you want them to be the same. Then your going to sew the lining together JUST like the blouse. Make sure they both look exactly the same. Then the fun part [not really], put the lining on top of the blouse, so the seam on the lining is on top of the seam of the blouse, inside out. So, if your looking at it right now on your table, you should see the lining on top of the blouse with the seam ends up. Like so:

Now, BEFORE you start sewing, because this makes it so much easier, your going to open the seams, so the extra fabric is on the sides, and iron that down, so everything is flat.


You can skip this step if you want, but I wanted to test my craftsmanship so if you wanna try this as well go for it! Do this for both the blouse and the lining. Once done, time to sew it together! Just go and sew them and leave the back un-sewn.

Next, since you didn't seam together the back, turn it inside out so it gets all pretty!

FRONT:

INSIDE

NOW, to keep the fabric still and not fold over, your going to iron it down then do a 'top stitch'. What that means is your going to sew one simple straight stitch all the way around so it says and makes it look clean. Make sure the lining is BEHIND the stitch so the main blouse is on top.


DOESNT IT LOOK SO GOOD! GOOD JOB MAN! Ok just add your zipper and your good to go! Nice job! This took me a few tries but it all worked out!
That's pretty much it. Put the zipper in and sew the top shoulder together and your set. Now onto your decal! Stay tuned!
----------------------------------------------------------------------------------------------
NOW, that the blouse is sewn and done, time for the detail work. I think this was my favorite part because I like taking time on detail, because then you can start seeing how it looks. First I painted the symbols on the blouse. I mixed Pink, Purple, and White paint together. I also mixed it with a fabric medium so it paints on nicely. I did two coats of it so the color showed up. This is the paint I used:


So when it came to the symbols. It took me so long to figure out what it said. I did so much research like looking at the actual alphabet, to downloading the alphabet and typing up sentences to see if it matched up. My conclusion? These text is NOT a sentence, at least to my understanding. So after looking on the internet, I found someone who took a screenshot of zelda in the video game, blew up the screenshot in photoshop and traced the symbols, so because of this person, we now have the accurate symbols. Here is a link to their tutorial: Zelda's Symbols <----
ONTO MORE DETAILS:
So all we have left to do is the brown straps in the front and back. For these I bought leather strings and attached them myself. You can you eyelets too but I didn't have any, so i stitched it up myself. To do that, start from the inside and go through the hole several times until you can't see the ripped fabric you made by making the hole. It will take a few minutes. Then add your leather string and your set!


THEN YOUR DONE GOOD JOB! Thats it! It took a bit for me to do just because I have a full time job but this was pretty simple. Its when you start on the dress and other things that it might get a bit overwhelming but you can do it!
Stay tuned for the rest of the tutorial!


Comments
Post a Comment